Appearance
Recording options
Video recording modes
You can record your screen in 2 different formats:
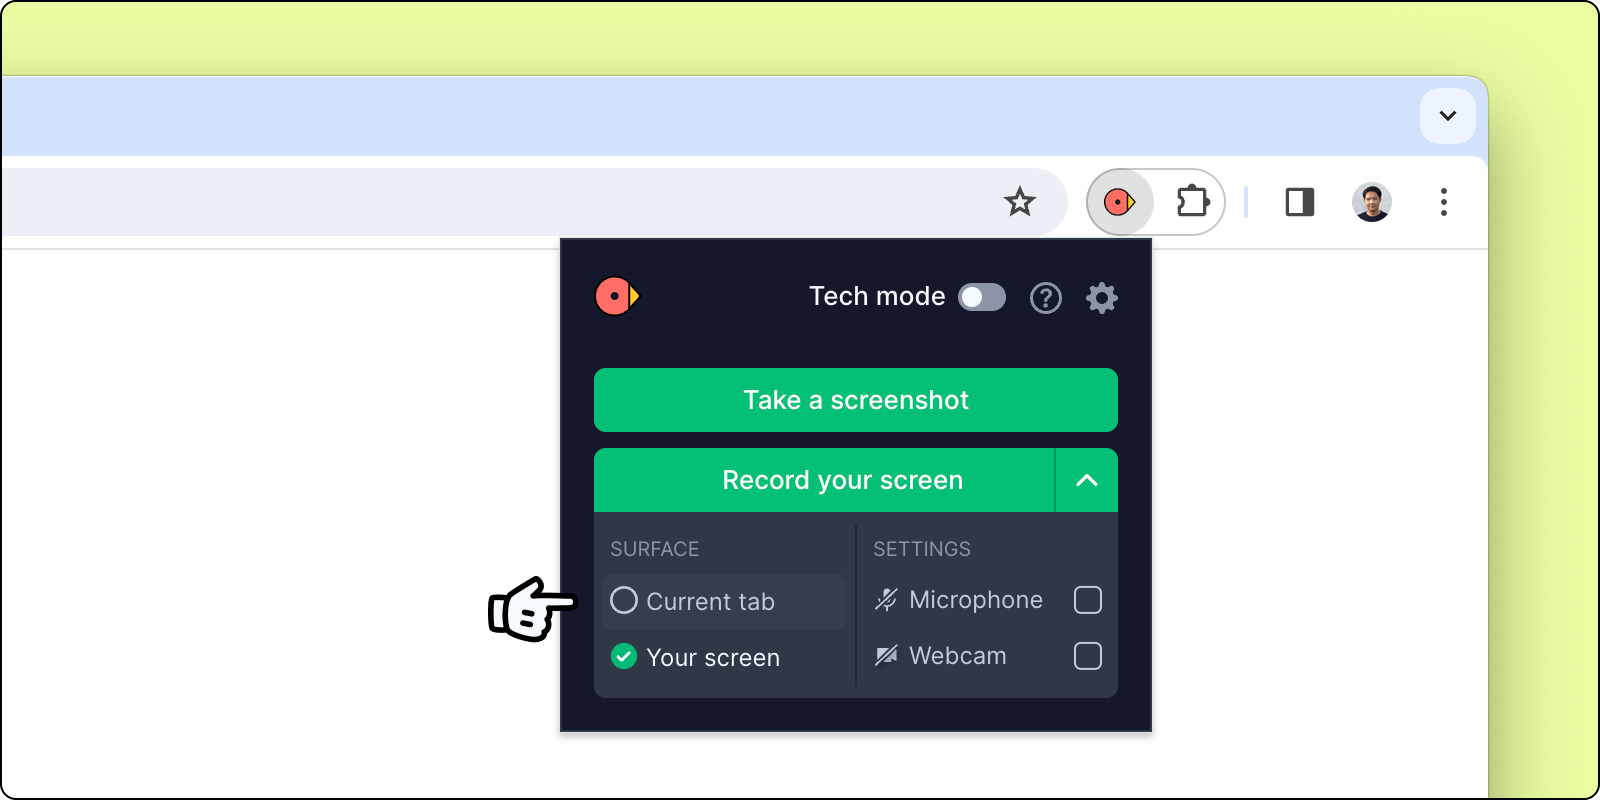
1. Record current tab Only the visible tab will be recorded. If you switch to another tab while the extension is recording, it will only record the original tab. This option is ideal for quick recordings where you do not want anything else to be recorded.
Please note however that only the tab is recorded exclusively, so any native operating system UI elements e.g. right click windows/Mac menus would not be included in the tab recording option. To include these elements, use the "entire screen" recording option.
2. Record entire screen Allows you to record the entire screen or a specific window. This option is ideal when you need to record a bug that involve switching between different tabs or windows.
Microphone
To include your voice in the recording, click the carat to expand the video recording options and enable the microphone.
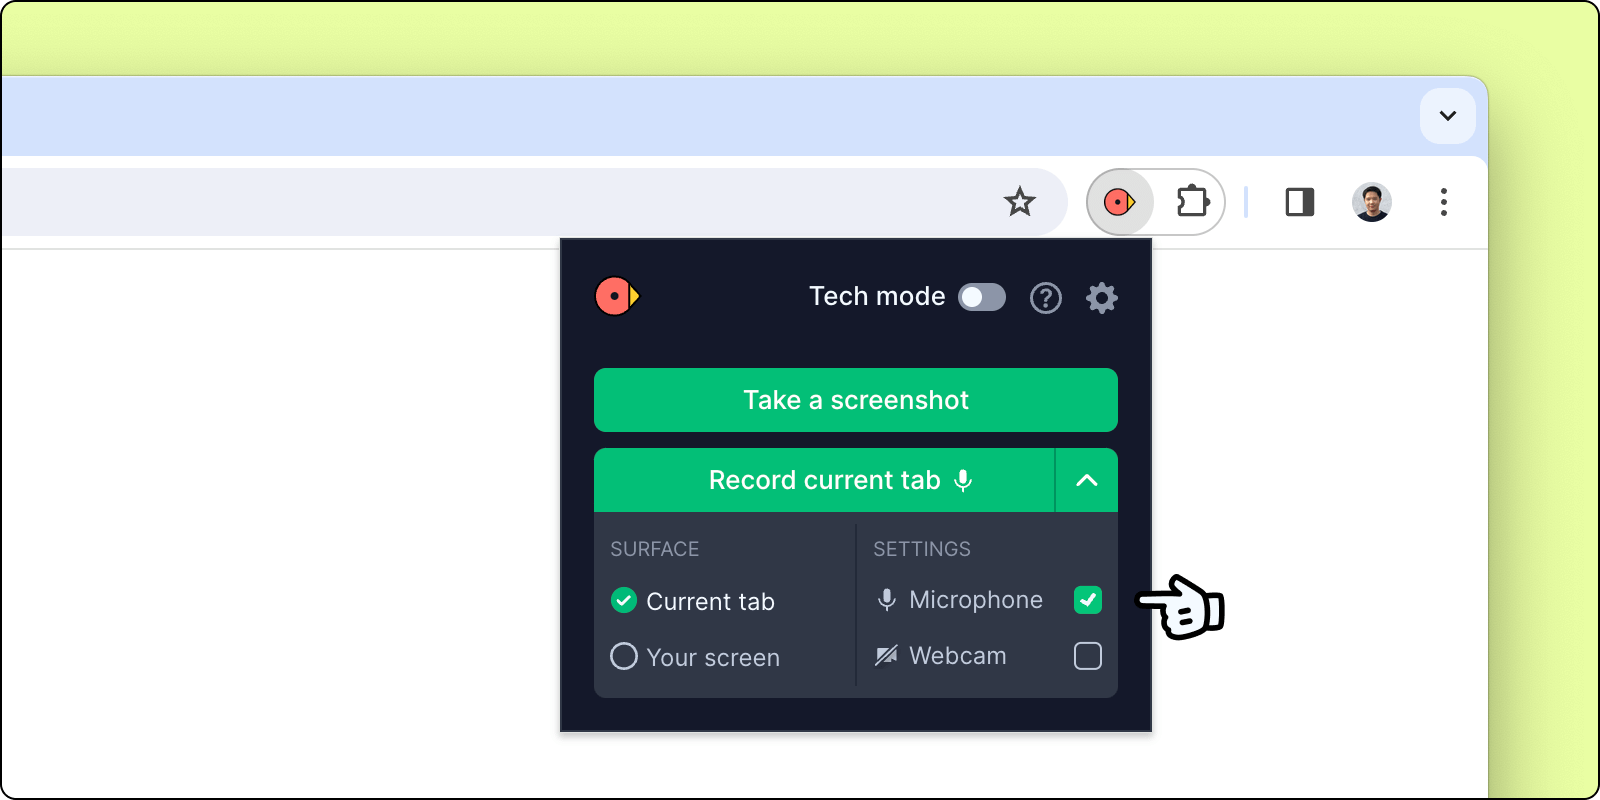
By default, the microphone is set to the option selected by your browser or operating system. To select a custom microphone input for Bird, go to the extension settings page by clicking the gear icon in the extension.
Webcam
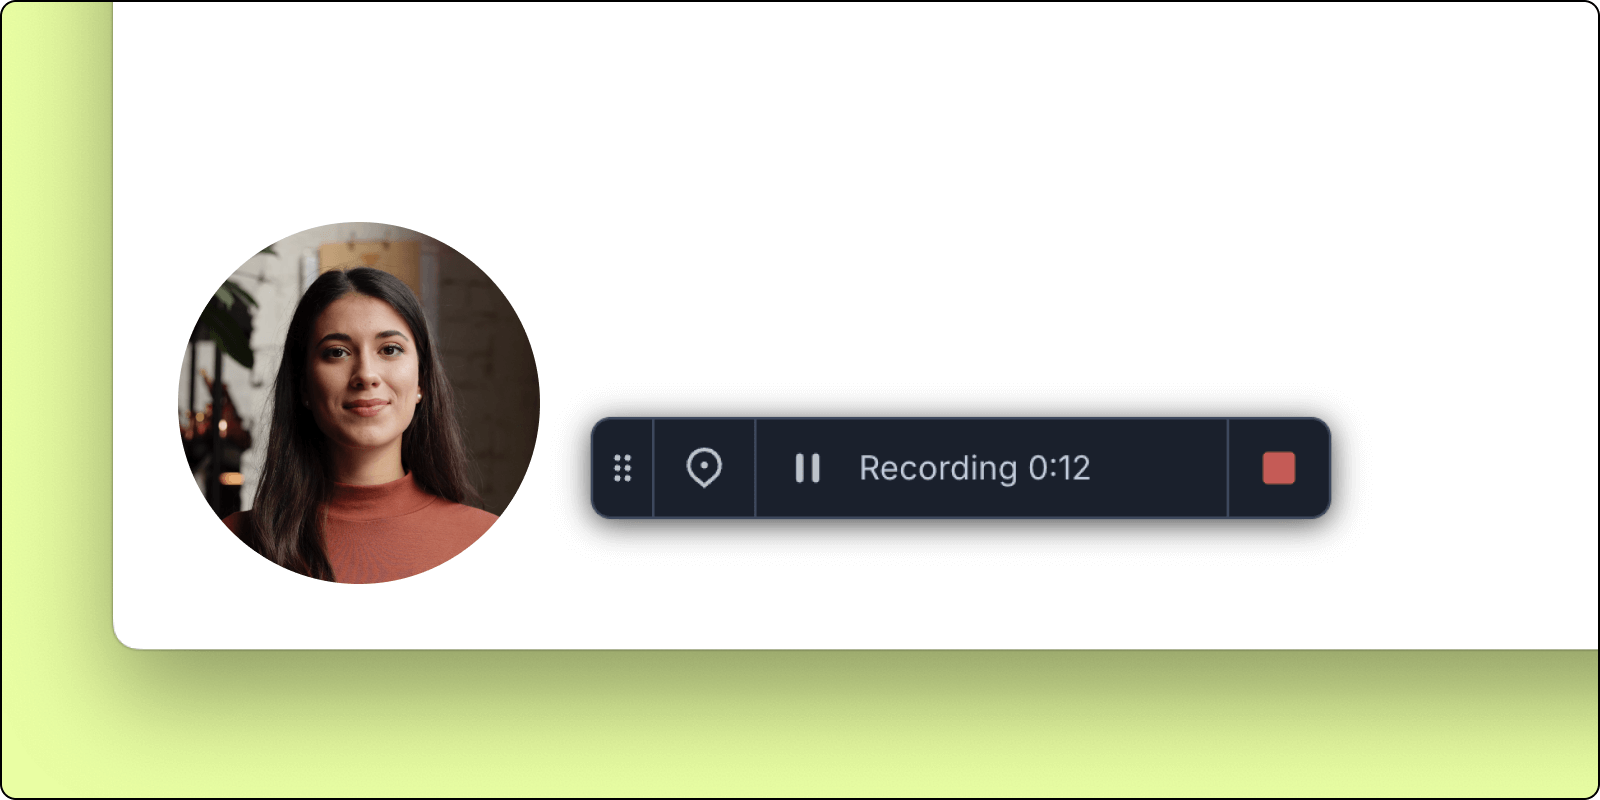
To include your webcam in the recording, click the carat to expand the video recording options and enable the camera.
By default, the webcam is set to the option selected by your browser or operating system. To select a custom webcam input for Bird, go to the extension settings page by clicking the gear icon in the extension.
If the webcam is in the way during a recording, just hover over it and it will jump to the other side of the screen.
You can customise the shape of the webcam viewpost in the settings between a circle or the shape of Bird.
Pause recordings
While recording, you can pause at any time via the toolbar that appears at the bottom centre of the screen. Click the pause button again to resume.
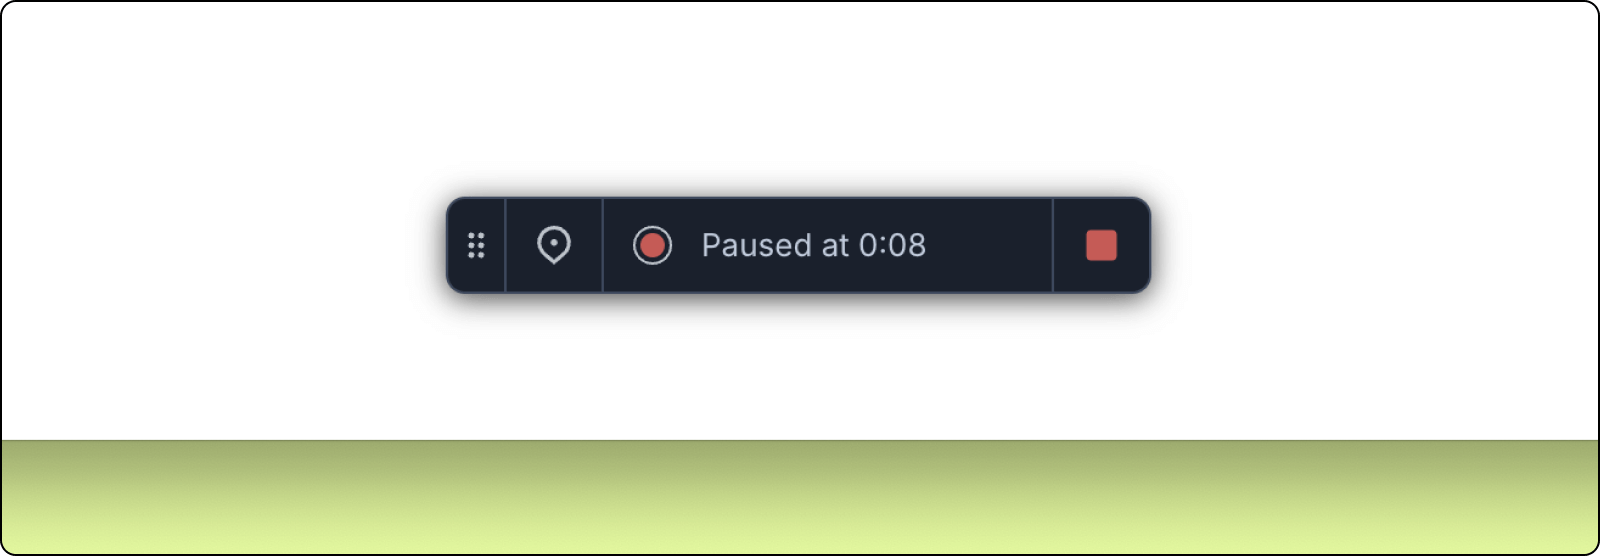
You can hide or show this toolbar from the extension settings page.
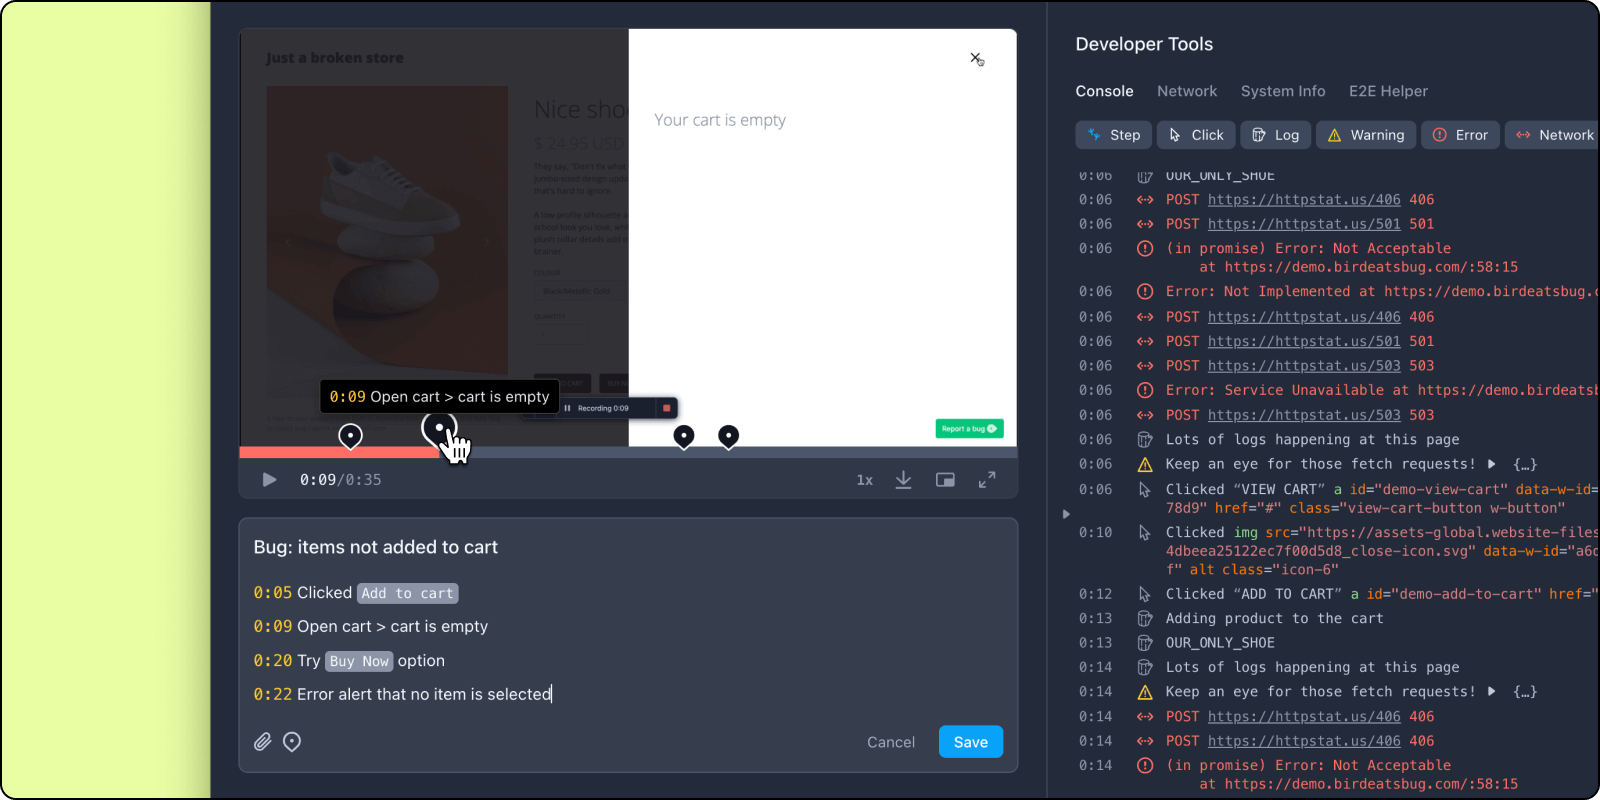
Markers
Use markers to highlight specific issues, or organize longer recordings into chapters. Click the marker button in the recording toolbar to add one, your recording will pause to allow you to add a note to the marker and resume after you confirm.
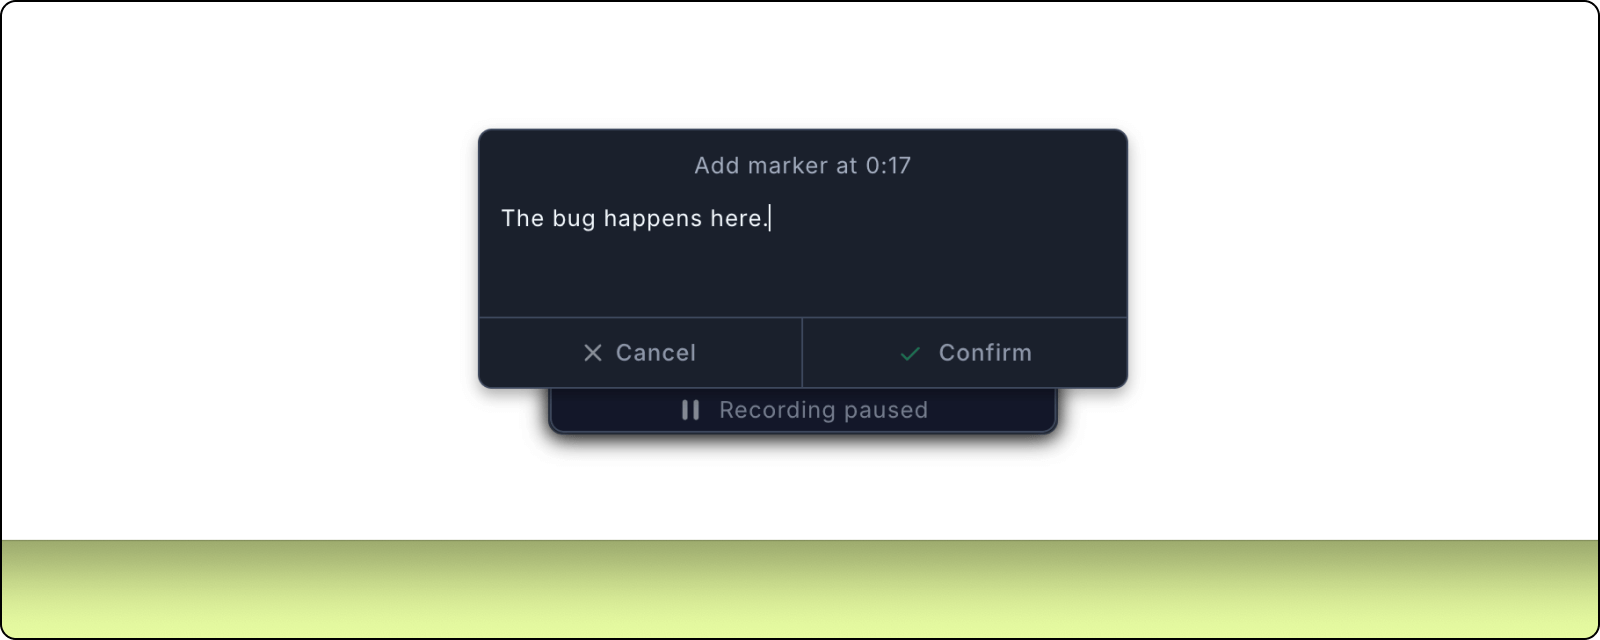
Markers are added to your video timeline along with a timestamp and note in the bug report description. Engineers or anyone viewing the bug report will be able to skip to relevant parts of the recordings and see contextual notes by selecting the markers. You can also edit, remove or add new markers directly from within the description by adjusting the timestamp values or using the add marker button.
Screenshot
Click Take a screenshot to capture the current tab.
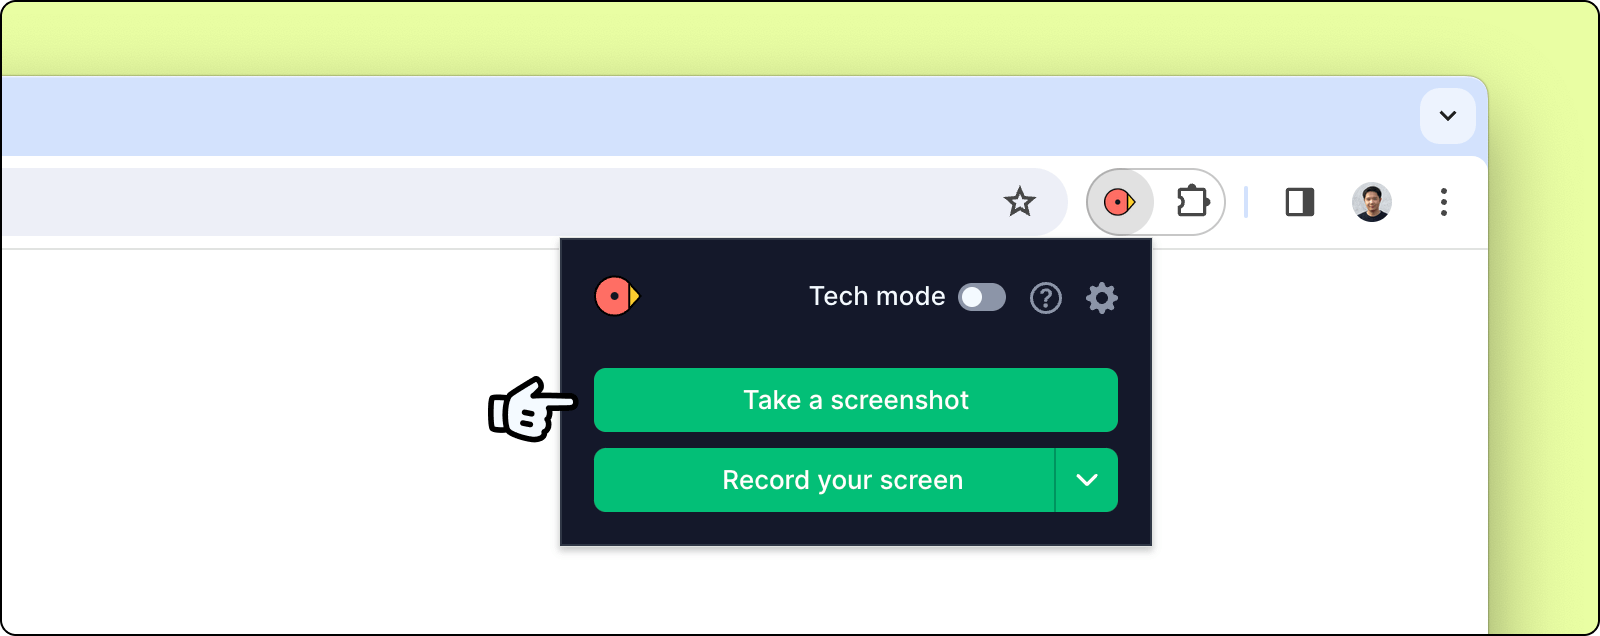
Immediately after taking a screenshot, you will be able to annotate it via the toolbar above.
For a larger view of the screenshot, simply drag the media panel, or hide the developer tools and details panel.
If Replays (see below) is enable, captured screenshots will also include technical logs from the last 2 minutes. If Replays is disabled, screenshots will not include technical logs.